Using Claude Code Directly on a Mapped Docly Drive
Map your Docly workspace as a drive via WebDAV, start Claude Code in the folder, and let an AI coding agent read, edit, and deploy your app—all in one step.
What if your AI coding agent could edit files that are instantly live in production—no build step, no deploy pipeline, no waiting?
That is exactly what happens when you combine Docly’s WebDAV support with a terminal-based AI coding agent like Claude Code. You map your Docly workspace as a network drive, open a terminal, start Claude Code, and every file it creates or modifies is immediately reflected in your running application.
This article walks through how it works, why it matters, and how to set it up.
The idea: your cloud app as a local drive
Docly exposes every workspace as a WebDAV endpoint. WebDAV is a well-established protocol that lets operating systems mount remote file systems as if they were local drives. Windows, macOS, and Linux all support it natively.
For a step-by-step guide on mapping your Docly workspace as a network drive, see Connect Docly as Network Drive: https://developers.docly.net/Blog/2019/Connect-Docly-as-Network-Drive
When you map a Docly workspace to a drive letter (say, L:), the full file tree of your application appears as ordinary folders and files on your machine:
L:\my-workspace\
├── #/
│   ├── API/          ← server-side endpoints
│   ├── Root/         ← published static assets
│   └── Services.json ← background jobs
├── Blog/             ← content as .docly documents
├── ui/               ← frontend HTML, CSS, JS
└── ...
But unlike a traditional local project folder, every change you save is live immediately. There is no build, no push, no deploy command. The file is the application.
Installing Claude Code
Claude Code is a command-line tool from Anthropic. It requires Node.js 18 or later.
npm install -g @anthropic-ai/claude-codeOnce installed, you can run claude from any terminal. On first launch it will ask you to authenticate with your Anthropic account.
Claude Code is also available as a desktop app for Windows and macOS, as a web app at claude.ai/code, and as IDE extensions for VS Code and JetBrains. For this workflow, the CLI or desktop app are the most natural fit since you need terminal access to the mapped drive.
Full installation instructions and documentation: https://docs.anthropic.com/en/docs/claude-code
Start Claude Code on your mapped drive
Claude Code is Anthropic’s command-line AI coding agent. You run it in a terminal, give it instructions in plain language, and it reads, writes, and modifies files autonomously—using the same file system your terminal has access to.
When you start Claude Code inside a mapped Docly drive, something powerful happens: the agent gains direct, live access to your entire cloud application.
cd L:\my-workspace
claude
From this point, Claude Code has full access to your live application:
What you ask | What the agent does | Result |
|---|---|---|
Add a health check endpoint | Writes a file to #/API/health.js | Endpoint is live immediately |
Build a landing page | Creates HTML, CSS, and JS in the project | Page is live immediately |
Tighten the security headers | Edits the headers property in site.json | Headers updated immediately |
Refactor the API layer | Modifies multiple files in #/API/ | All changes live on save |
Explore the project | Reads the full file tree | You get an overview without digging yourself |
Because Docly’s file-based architecture means files are the application, every change Claude Code makes is live the moment it saves the file. There is no separate deploy step.
The workflow in practice
Here is what a typical session looks like:
Map your Docly workspace as a network drive (see Connect Docly as Network Drive). You now have a drive letter pointing to your workspace.
Open a terminal and navigate to the website or application folder on the mapped drive.
Run claude in the terminal. The agent indexes the project and is ready to work.
Give instructions and iterate. Ask the agent to create endpoints, build pages, or edit configuration—and test each change live in the browser.
Example conversation:
You: Create an API endpoint at #/API/status.js that returns the server time.

> Claude Code writes the file. It is live. You test it in the browser.

You: Add CORS headers to the response.

> Claude Code edits the file. The change is live within seconds.
This tight loop—instruct, save, test, adjust—is exactly the workflow where AI coding agents deliver the most value. There is no context switch to a deployment process. The feedback is immediate.
Why this works so well with Docly
Not every platform can support this workflow. Docly’s architecture is uniquely suited to it:
Docly property | Why it matters for AI agents |
|---|---|
File-based by design | The file system is the application. No compilation, no container rebuild, no artifact to ship. When a file changes, the app changes. |
Convention-driven structure | Clear conventions (#/API/, #/Root/, schemas, templates) give agents a predictable target—fewer mistakes, less correction needed. |
Instant feedback | Changes are live on save. You validate immediately in the browser. Short feedback loops produce better results. |
WebDAV standard protocol | Nothing proprietary about the file access. Any tool that reads and writes files works—AI agents, IDEs, command-line tools. |
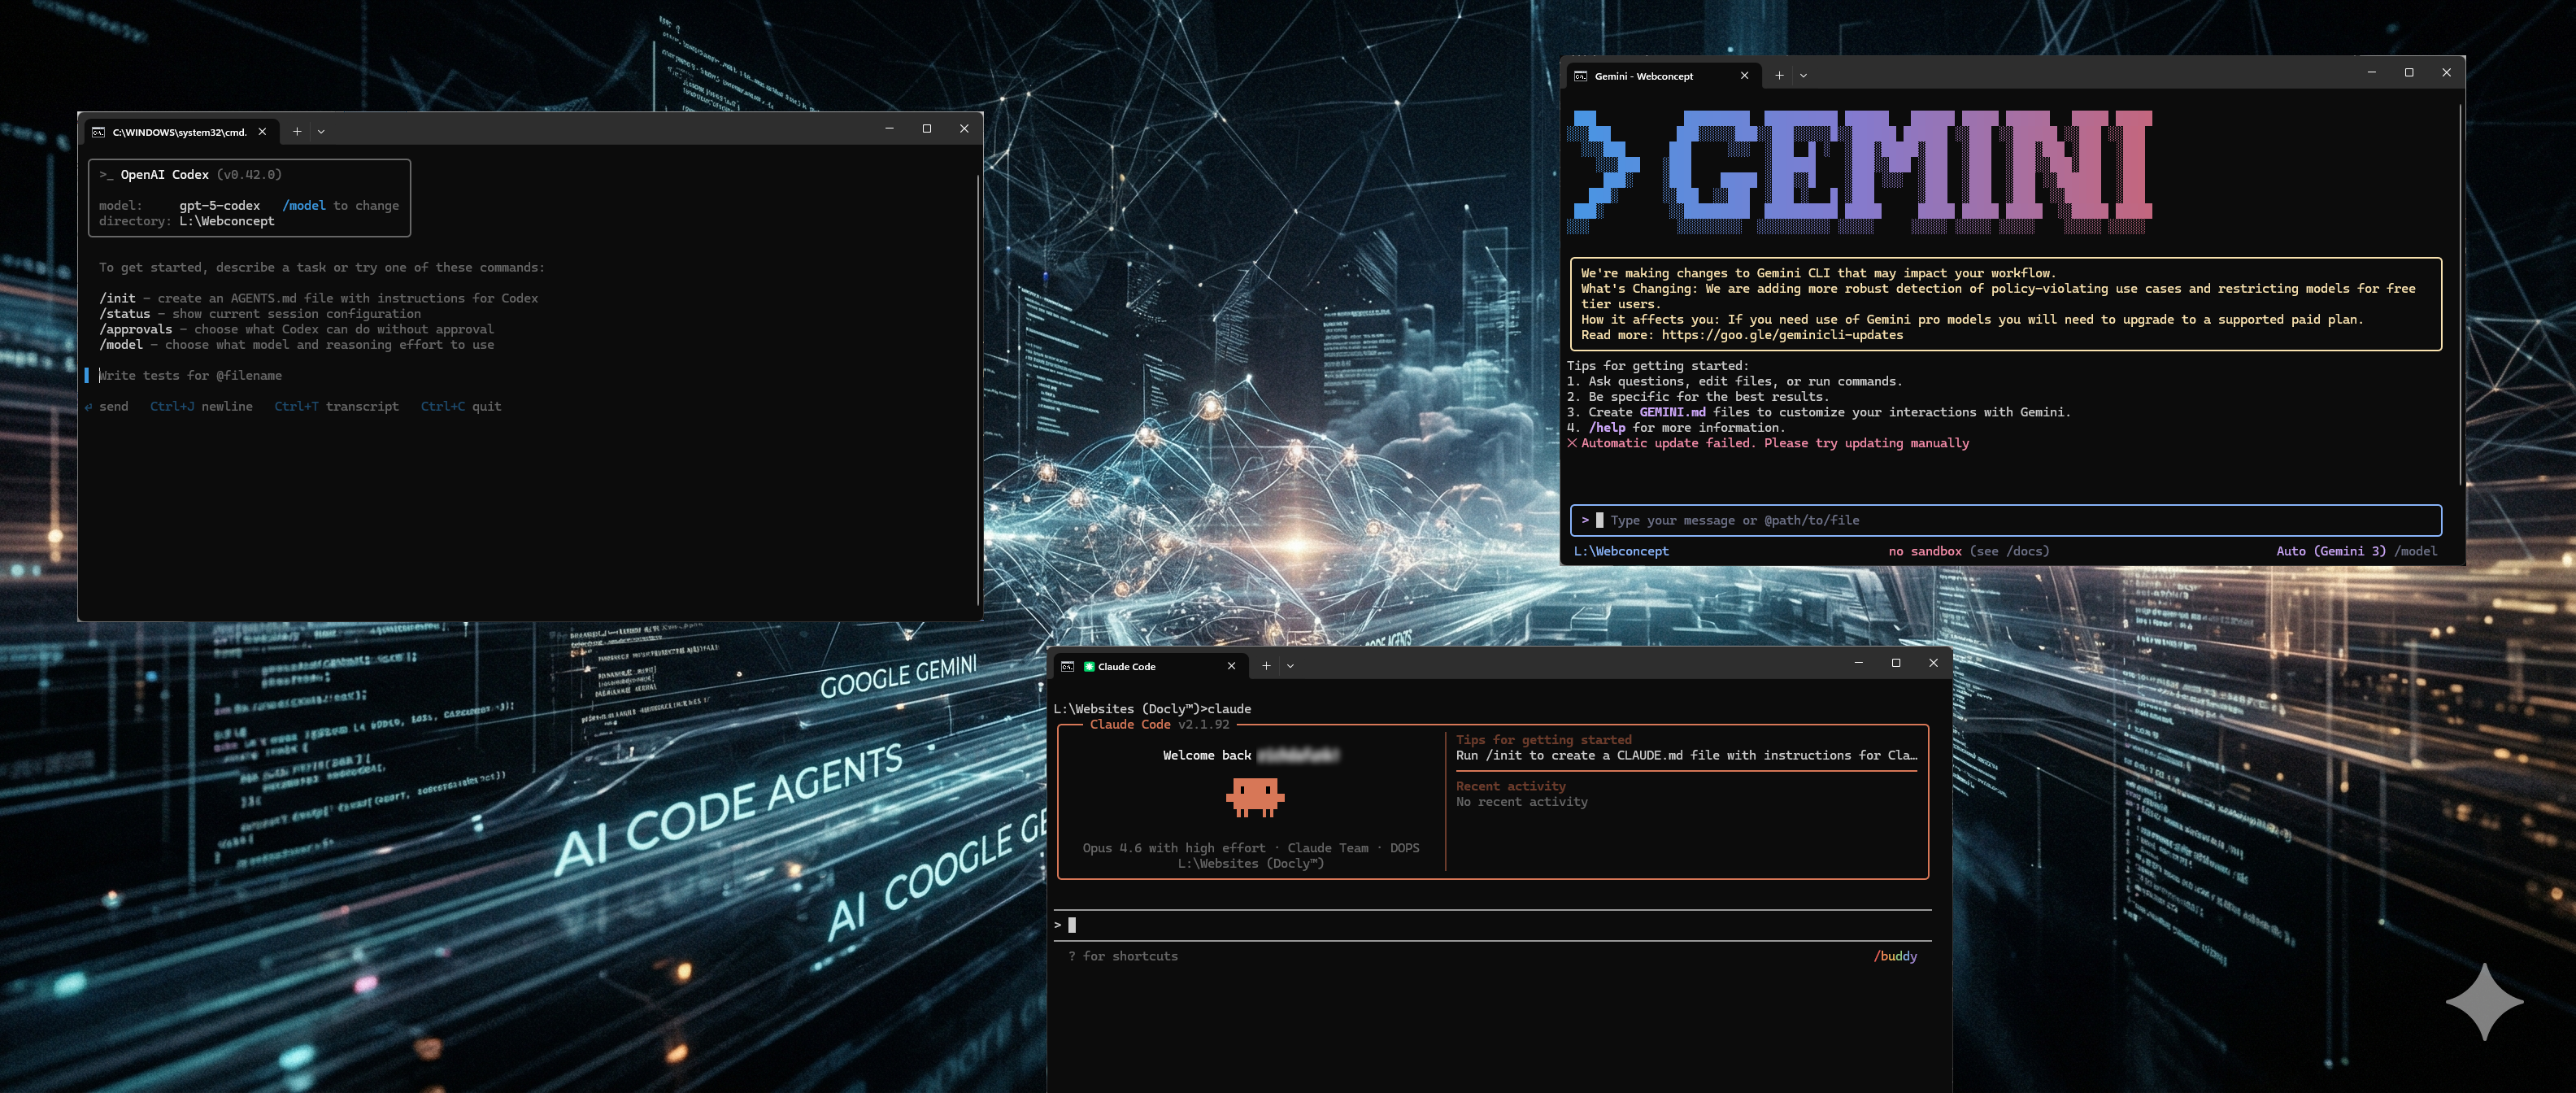
Beyond Claude Code: other AI agents work too
While this article focuses on Claude Code, the same principle applies to any AI coding tool that operates on the file system.
Tool | Type | How it works with a mapped Docly drive |
|---|---|---|
Claude Code | CLI / Desktop | Run claude in the mapped folder. Full file access. |
Google Gemini CLI | CLI | Run gemini in the same folder. Same workflow. |
OpenAI Codex | CLI | Run codex in the same folder. Same workflow. |
Cursor / Windsurf | IDE | Open the mapped drive as a workspace. Built-in agents edit files directly. |
VS Code + Copilot | IDE | Open the mapped drive. Use Copilot agent mode for multi-file edits. |
The key insight is that Docly’s WebDAV + file-based architecture turns any file-aware AI tool into a live deployment tool. The agent does not need to know anything about Docly—it just needs to read and write files.
Practical tips
Tip | Details |
|---|---|
Explore first, change later | Start each session by asking the agent to read the project structure. This helps it make better decisions about where to place files. |
Use environments | Point your mapped drive at a development environment. Iterate freely, then promote to production when ready. |
Give context up front | Tell the agent the Docly conventions (see the next section). The more context, the better the output. |
Keep the loop tight | Test after each change—it is live immediately. Correct the agent quickly rather than batching large instructions. |
Review before production | AI-generated code should always be reviewed. Use Docly’s built-in editor or admin interface to inspect changes. |
Setting the right context: what to tell Claude Code at the start
AI coding agents do not inherently know what Docly is. When you start a session, the first thing you should do is give the agent context about the platform and its conventions. A good opening prompt might look like this:
You are working on a Docly cloud application. Docly is a file-based web
application platform where files are the application—every change is live
immediately. Read the developer documentation at
https://developers.docly.net/Introduction to understand the platform.

Key conventions:
- #/API/ contains server-side JavaScript endpoints (Express-style)
- #/Root/ contains published static assets (CSS, JS, images)
- site.json defines site-level config; the headers property holds HTTP security headers
- #/Services.json defines background jobs and scheduled tasks
- .docly files are JSON documents used for structured content (stored
  pretty-printed and multi-line so they are easy to diff and edit)

Important rules for .docly files:
- ALWAYS read existing .docly files in the same folder first to learn the
  exact JSON structure and schema before creating or editing one
- Do not assume the format—schemas vary. Let the existing files be your
  reference
- Editing an existing .docly file in place is fine and preserves the
  schema binding — but every save must be valid JSON. The drive rejects
  writes to .docly/.json files when the result is unparseable, so you
  cannot do an edit that leaves the file temporarily invalid.
- Creating a new .docly file requires the temp+copy pattern: write the
  complete file to a temp folder (e.g. %TEMP%), then Copy-Item it into
  the Docly drive in one operation. Direct writes to the drive cause the
  file to be misregistered as a generic upload, and the filename is then
  burned. See https://developers.docly.net/Guidelines/Editing-Docly-documents-programmatically
  for the full procedure.

This is NOT a git repository. There is no build step or deployment pipeline.
Files saved to this mapped drive are live in the cloud immediately.
This context prevents the most common mistakes an AI agent will make when working with Docly for the first time. Without it, the agent is likely to:
• Write a new .docly file directly to the drive (misregisters it as a generic upload and burns the filename)
• Assume a format instead of reading existing files first
• Try to run git init or look for package.json
You can save this as a CLAUDE.md file in the root of your project folder. Claude Code reads this file automatically at the start of every session, so you only need to write it once.
See also: Editing Docly documents programmatically — the canonical reference covering the temp+copy pattern for new
.doclyfiles, why direct writes fail, why Move-Item collides with the drive's placeholder, and how to recover when a filename gets burned by a misregistration. Required reading before pointing any AI agent at a mapped Docly drive.
Summary
Docly’s WebDAV support lets you map your cloud workspace as a local drive. Combined with Claude Code or other AI coding agents, this creates a remarkably efficient workflow:
Map the drive
Start the agent
Describe what you want
Watch it go live
No build pipelines. No deployment scripts. No waiting. Just files becoming a live application—assisted by AI.
This is the kind of workflow Docly was designed for: removing friction between writing code and shipping software.
Want to try it yourself? Learn more about Docly at docly.org or explore the developer documentation.