Introduction Last updated: 08. Jan 2026
A quick walk-through of Docly’s magic – turn ideas into powerful cloud apps, and explore the simple building blocks that make it all possible.
What is Docly™?
Docly is a cloud-native development platform where your creativity takes flight.
Every file you add — HTML, JSON, or JavaScript — instantly becomes part of a live application. Docly takes care of hosting, execution, scaling, and security so you can focus entirely on building.
Frontend: /ui/index.html, /ui/app.js, /ui/style.css
APIs: #/API/*.js → become /API/... endpoints
Data: /articles/123.json or any structured folders
Special features: # folders for APIs, Templates, Schemas, Jobs
Build powerful cloud applications with minimal setup. Your code goes live instantly — focus on creating, not configuring infrastructure.
Note: You can also set up separate environments to code and test safely before pushing updates to production.
Our Philosophy
Docly is built on open standards and plain files.
Open, durable formats: HTML, CSS, JS, JSON
No lock-in: projects are just folders and files you can move or copy
Code-first where it counts: Both APIs (.js) and templates (.hash) are just JavaScript
Use .js for endpoints and backend logic
Use .hash when you want to generate HTML or documents — it’s still JavaScript, with helpers for rendering
Your data is yours: JSON files that can be exported, versioned, or edited anywhere
Simplicity scales: Forget servers. Choose your tier for speed, your subscription for features.
Ten years from now your Docly project is still a set of readable files.
The Docly File System
Normal folders → your static files and JSON data
Hash folders (#) → reserved for Docly features
#/API/hello.js → /API/hello
#/Schemas/... → your document schemas
#/Templates.hash → render JSON as HTML
The # prefix is internal only; public URLs never contain it and it cannot be reached from the frontend (the browser). Files inside the # folder are only accessible to server-side code and Docly's internal services.
Security Note: As a security measure, relative file paths are not supported in the Docly API. This prevents file path injection attacks and ensures that all file operations use absolute paths within your webapps.
Display Templates - Your Data Becomes Pages
Docly automatically renders your documents as web pages using display templates based on their schema. This is the magic that turns data into websites.
How it works:
Create a schema Article with fields like Title, Author, Body, Tags
Create a display template at #/Article.hash
When you save a document with the Article schema, Docly wraps your JSON with metadata
The document automatically renders using the matching template
Your JSON data is wrapped with schema metadata. This is invisible in Docly's UI, but if you download the file you'll get a .docly file containing both metadata and your JSON content.
Example template #/Article.hash:
<!DOCTYPE html>
<html>
<head>
    <title>#Title#</title>
</head>
<body>
    <article>
        <h1>#Title#</h1>

        <div class="meta">
            By #Author# • #PublishDate#
        </div>

        <div class="content">
            #Body#
        </div>

        #if(Tags && Tags.length){#
        <div class="tags">
            #for(let tag of Tags){#
                <span class="tag">#tag#</span>
            #}#
        </div>
        #}#
    </article>
</body>
</html>
The result:
Save /blog/My blog post with Article schema → viewable at /blog/my-blog-post
The schema determines which template to use
No routing configuration needed
Changes to the template update all Article documents instantly
Use #FieldName# to output field values directly. Use #{...}# when you need multi line JavaScript code blocks.
Your First API
Create a file at #/API/hello.js:
export default (name) => {
  return { message: `Hello ${name || "World"}!` };
}
Call it with /API/hello?name=Alice →
{
  "message": "Hello Alice!"
}
That's all it takes.
Frontend + API Together
The Admin & Schema Designer
Docly includes an Admin UI — your built-in database tool.
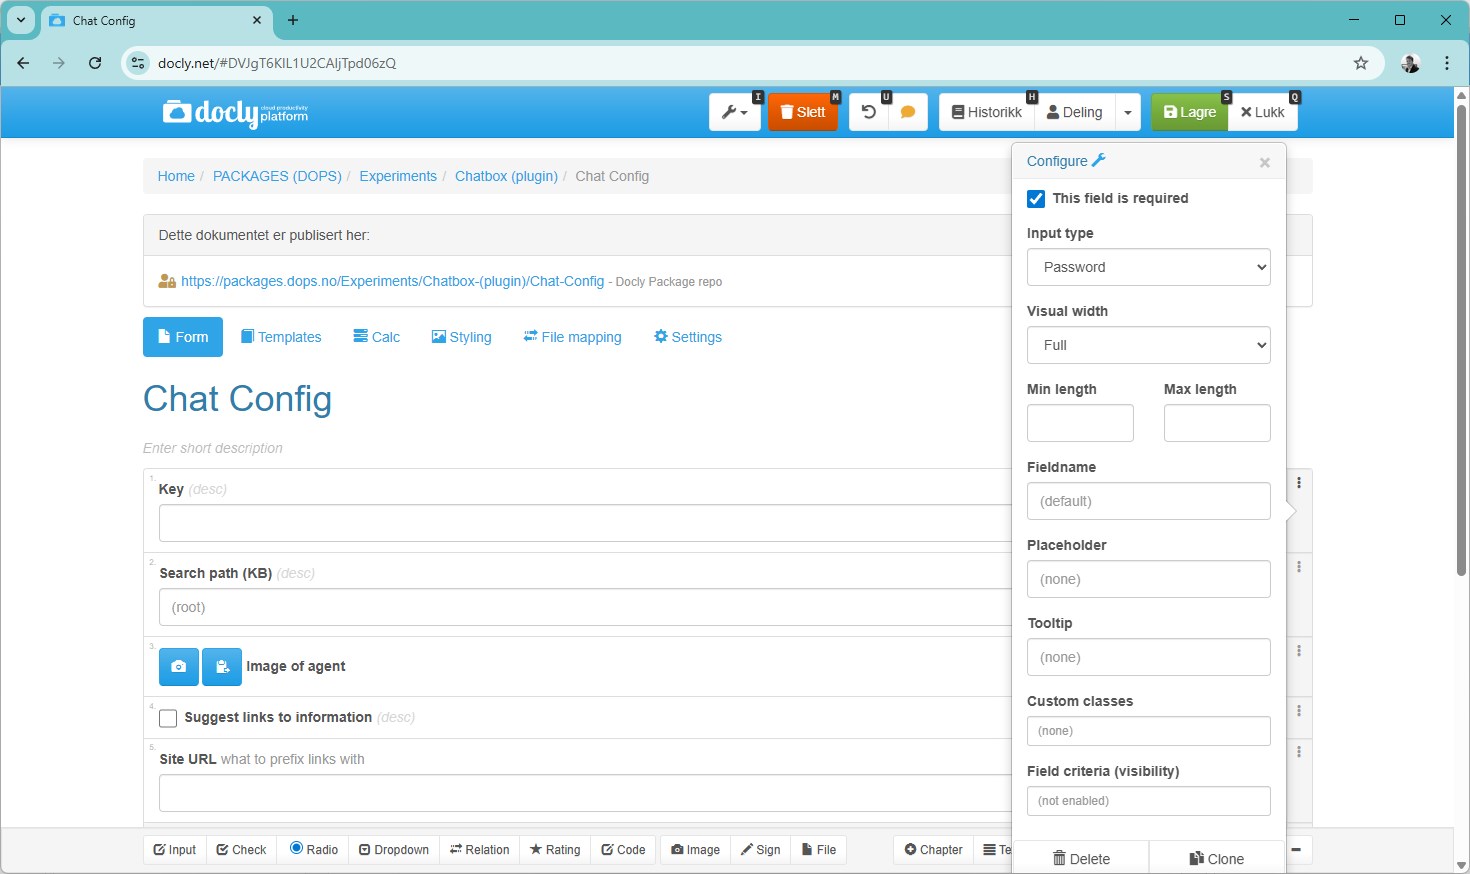
Visual schema designer: drag-and-drop to define fields
Auto-generated editors: add and edit data directly, with validation
Great for teams: often easier to let colleagues manage data in Admin than to code custom backoffice UI
The Schema Designer: define fields visually and edit data instantly.
Packages
Workspaces can install packages that provide:
Predefined schemas and templates
Developer utilities and tools
One-click install via URL
Screenshot caption: “Install packages to add predefined schemas, templates and tools.”
Built-in Code Editor
Choosing Admin vs. Custom UI
Use Admin for internal data entry, CRUD, and backoffice tasks
Build custom frontend for customer-facing or brand-critical UX
Mix both freely — the same JSON documents power both
Getting Started Checklist
Create a workspace
(Optional) Install a package with ready-made schemas/templates
Design a schema in Admin
Add documents using the generated form
Create a template or an API for dynamic behavior
Decide what needs a custom UI and what Admin can handle
Invite users with the right permissions
Where to Go Next
Hash folder → learn about special folders
Templates → render data with HashScript
Schemas → define and validate your documents
Filesystem functions → save, read, and embed files
The API folder → learn to build powerful APIs and unlock the potential of server-side development

