How to setup Google reCAPTCHA
PART 1 - Create a Google site key
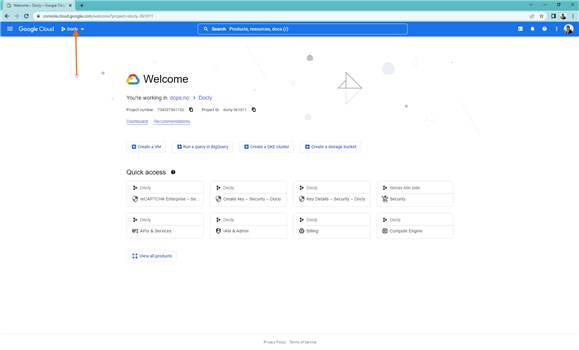
Open Google Cloud Console
Create a project and open
Activate reCAPTCHA Enterprise
Navigate to: Security > Recaptcha enterprise
Configure a site key in Google Cloud Console
PART 2 - Use "Google reCAPTCHA v2.0" in your API
Add reCAPTCHA HTML markup and javascript
Add reCAPTCHA field inside your form:
<form id="SignUp" data-message="Thank you, your form has been submitted.">
    <div class="form-group">
        <label>Email</label>
        <input class="form-control input-lg" name="Email" type="email" required>
    </div>
    <div class="form-group">
        <div class="g-recaptcha" id="captcha1" data-sitekey="ENTER-YOUR-SITE-KEY-HERE"></div>
    </div>
    <button class="btn btn-success btn-lg" type="submit">Sign up</button>
</form>
Remember to insert your site key where it says: "ENTER-YOUR-SITE-KEY-HERE"
Add script at the end of the page:
<script src="https://www.google.com/recaptcha/api.js" async defer></script>This example form looks like this:
Either pass the Google reCAPTCHA value or submit the form to your apropriate API end point (default input field name is "g-recaptcha-response")
Validate reCAPTCHA in API
In order to check that the reCAPTCHA was valid you must submit the result value and code a check of this value from an API function. Your API function will call the Google API to check the reCAPTCHA result.
#/API/Example.js
/* This code will check if supplied validation key is valid */
var googleUrl = "https://www.google.com/recaptcha/api/siteverify?response=" + form["g-recaptcha-response"] + "&secret=<ENTER-YOUR-LEGACY-SITE-KEY-HERE>";
var result = docly.httpPost(googleUrl, {});
if (!result.success) docly.assert("Google validation failed!"); /* It didn't validate and code will exit here */

/* It validated, enter the code below to proceed with your desired actions */
IMPORTANT!
You need to use the legacy key when calling this Google API. See image below.


