Creating Docly™ Schemas Last updated: 26. May 2026
This guide will get you started with creating your own custom Docly schemas.
Request developer access
If you don't already have developer access granted, please fill in and submit your application from the link below:
Create a new schema
Go to any desired folder (you can move your schemas to different folders later).
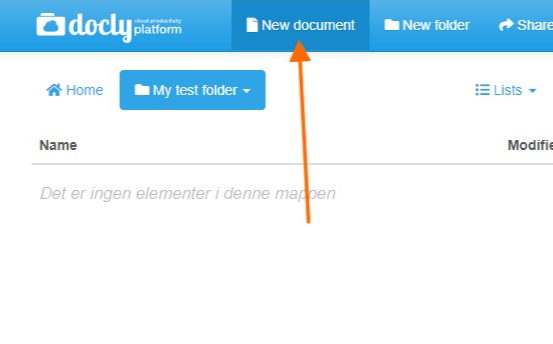
Click new document:
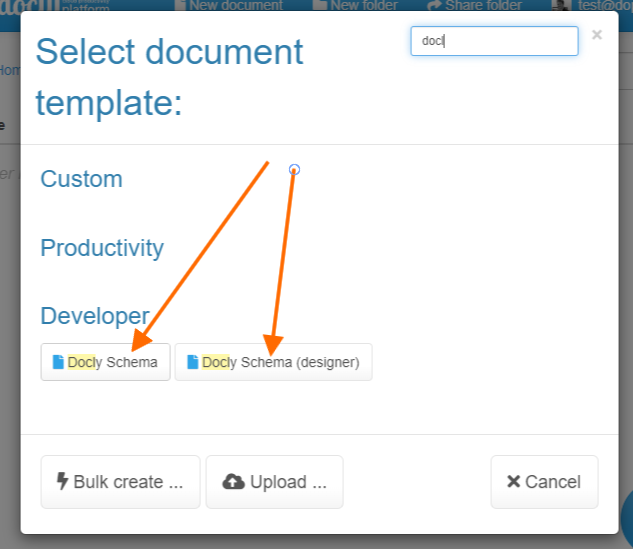
Select the "Docly Schema" template:
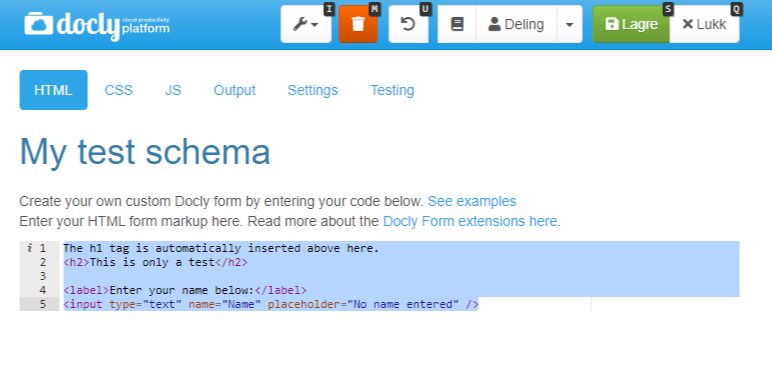
Now enter a name for your schema in the title.
Enter HTML markup
Simply enter some test HTML markup and click "Save".
Here is some sample HTML you can copy and paste:
The h1 tag is automatically inserted above here.
<h2>This is only a test</h2>

<label>Enter your name below:</label>
<input type="text" name="Name" placeholder="No name entered" />
See smartform.ikx.no for further details about how to set up more advanced schemas.
Create a test document using your new schema
Hit "New document":
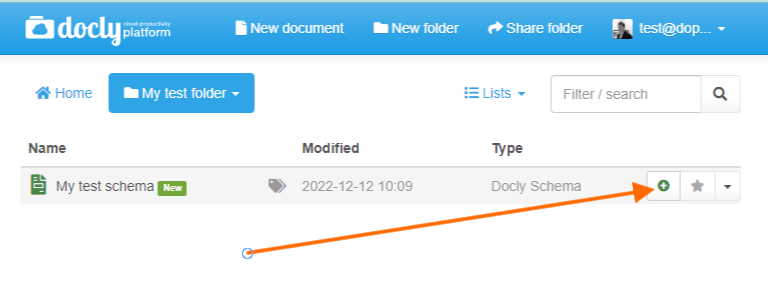
You have created and made a document based on your new schema:

More information
Later you can learn how to:
Publish your forms online (e-mail notification and online storage)
Share your custom document templates with other users
Customize the CSS styles (colours and layout)
Make your schema dynamic (show, hide and animate elements)
Add your own functions and calculations (JS / jQuery)
Add built-in templates to generate web pages or documents (PDF or DOCX)